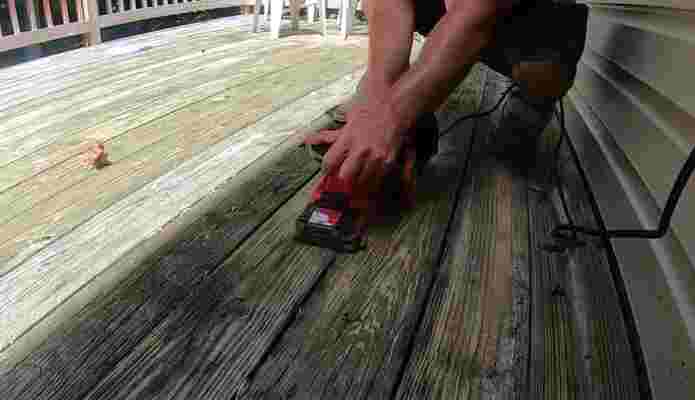
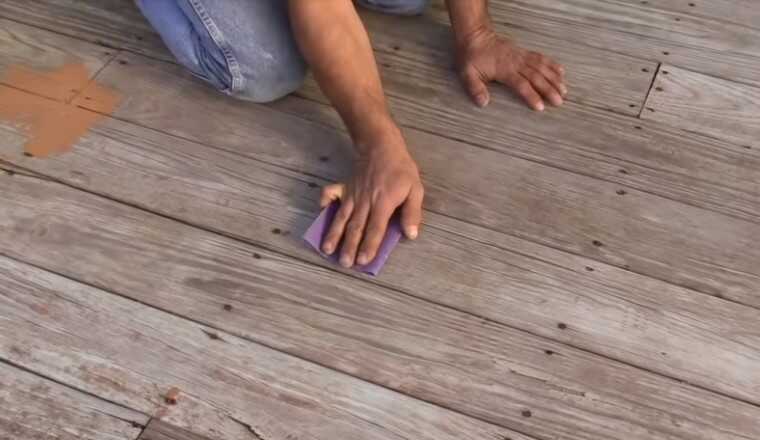
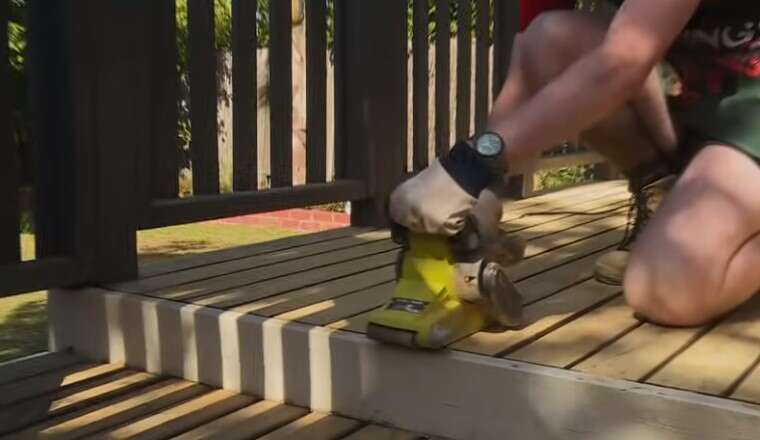
Sanding a deck is an essential part of deck maintenance. Over time, decks can become weathered and rough, making it uncomfortable to walk on. Sanding the deck not only smooths out the surface but also helps to remove any dirt and debris that may have accumulated. Additionally, sanding the deck can help prepare it for staining or painting, ensuring the surface is even and ready to accept the new finish.
Before sanding a deck, gathering the necessary tools and equipment is important. This may include a belt sander, orbital sander, sandpaper, safety goggles, and a dust mask. Once the tools are assembled, cleaning the deck thoroughly is important, removing any debris or loose wood fibers. This will help ensure the sanding process is as effective as possible.
Working systematically, starting with the handrails and working down to the deck surface, is important when sanding a deck. It's also important to use the appropriate sandpaper grit, starting with a coarse grit and working up to a finer one. Following these steps, anyone can sand their deck and restore it to its original beauty.

Yes, sanding a deck before staining is an excellent practice. Sanding helps smooth the surface, remove imperfections, and open the wood's pores, allowing the stain to adhere better and result in a more even and attractive finish.
Understanding the Importance of Sanding a Deck
Sanding a deck is an essential part of deck maintenance. It helps remove any rough spots, splinters, and dirt from the deck's surface, making it safer and more comfortable to walk on. Sanding also helps to prepare the surface of the deck for staining or painting, allowing the new finish to adhere better and last longer.
When a deck is not sanded properly, stains and paints may not adhere to the surface evenly, causing an uneven finish that can be unattractive and difficult to maintain. In addition, rough spots and splinters can cause injury to bare feet and hands, making the deck less enjoyable to use.
Sanding also helps to remove any existing finish on the deck, such as old stain or paint, which can be unsightly and cause the wood to deteriorate over time. Removing the old finish can restore the deck to its natural beauty and protect it from the elements.
Overall, sanding a deck is important in maintaining its appearance and longevity. By taking the time to properly sand the deck, homeowners can ensure that their deck is safe, comfortable, and beautiful for years to come.
Identifying the Right Tools and Materials
When it comes to sanding a deck, having the right tools and materials is crucial to achieving a smooth and even finish. Here are some essential items to gather before starting the sanding process.
Choosing the Right Sandpaper
When selecting sandpaper for a deck, it's important to consider the grit level. A lower grit, such as 40 or 60, is ideal for removing old paint or stains, while a higher grit, such as 120 or 150, is better for smoothing out rough spots and preparing the surface for refinishing.
It's also important to choose sandpaper that is appropriate for the type of sander being used. For example, a belt sander may require sandpaper with a cloth backing, while a random orbital sander may require hook-and-loop backing.
Selecting a Suitable Sander
There are several types of sanders that can be used for deck sanding, including belt sanders, random orbital sanders, and palm sanders. Each type has its strengths and weaknesses, so choosing the one best suited for the job is important.
A belt sander, for example, is ideal for removing old paint or stains quickly but may be too powerful for delicate areas. On the other hand, a random orbital sander is better suited for general sanding and smoothing but may take longer to remove stubborn spots.
Gathering Safety Equipment
Before starting the sanding process, gathering the necessary safety equipment is important. This may include a dust mask or respirator to protect against airborne particles, safety glasses to protect the eyes, and earplugs to protect against loud noises.
It's also important to wear appropriate clothing, such as long sleeves and pants, to protect against flying debris. Gloves can also protect the hands from rough surfaces and splinters.
Overall, having the right tools and materials is essential for a smooth and even finish when sanding a deck. The sanding process can be completed efficiently and safely by choosing the appropriate sandpaper, selecting the right sander, and gathering the necessary safety equipment.
Preparing Your Deck for Sanding
Before sanding your deck, it is important to prepare it properly to ensure the best results. This section will cover the three main steps to take when preparing your deck for sanding: cleaning the deck, inspecting for damages, and securing loose boards.
Cleaning the Deck
The first step in preparing your deck for sanding is to clean it thoroughly. This will remove any dirt, grime, or debris that may have accumulated on the surface of the deck, which can interfere with the sanding process. There are several ways to clean a deck, including:
Using a pressure washer:
This is the fastest and most effective way to clean a deck, but it should be done carefully to avoid damaging the wood.
Using a deck cleaner:
Many commercial deck cleaners are available that can be applied with a brush or sprayer and then rinsed off with water.
Using a mixture of water and bleach:
This is a more natural and cost-effective way to clean a deck, but it may require more elbow grease.
Inspecting for Damages
The next step in preparing your deck for sanding is to inspect it for any damages that may need to be repaired before sanding. This includes looking for:
- Cracks or splits in the wood
- Loose or damaged boards
- Signs of rot or decay
- Rusty or corroded nails or screws
If any of these issues are found, they should be addressed before sanding the deck to ensure it is structurally sound and safe to use.
Securing Loose Boards
Finally, before sanding the deck, it is important to secure any loose boards to prevent them from moving during the sanding process. This can be done by:
- Tightening any loose screws or nails
- Replacing any damaged or missing screws or nails
- Adding additional screws or nails to secure the board
By following these steps to prepare your deck for sanding, you can ensure that the sanding process goes smoothly and that your deck looks great when finished.

The Sanding Process
Sanding a deck is an essential part of deck maintenance. It helps to remove old stains, paint, and other debris from the wood surface, making it ready for a new coat of finish. Here are the steps to follow when sanding a deck:
Starting with the Handrails
The handrails are the first part of the deck to be sanded. Use a sanding sponge or sandpaper to remove rough spots, splinters, or peeling paint. Sand along the wood grain, and avoid sanding in one spot for too long. After sanding, wipe the handrails with a damp cloth to remove any dust or debris.
Sanding the Deck Boards
After sanding the handrails, move on to the deck boards. Start by sweeping the deck to remove debris, and then use a power sander or a sanding block to sand the boards. Start with a coarse grit sandpaper and gradually move to a finer grit until the surface is smooth. Be sure to sand along the wood grain, and avoid sanding in one spot for too long. After sanding, sweep the deck to remove any dust or debris.
Dealing with Tight Spaces
Tight spaces, such as corners and edges, can be difficult to sand. Use a sanding sponge or sandpaper to sand these areas by hand. Be sure to sand along the wood grain, and avoid sanding in one spot for too long. After sanding, wipe the area with a damp cloth to remove any dust or debris.
In conclusion, sanding a deck is an important part of deck maintenance. By following these steps, you can ensure your deck is ready for a new finish coat.
Post-Sanding Procedures
After finishing sanding your deck, you should follow a few essential post-sanding procedures to ensure the deck looks great and lasts longer. The following are the two main post-sanding procedures you should follow:
Cleaning Up the Dust
Sanding a deck can create a lot of dust and debris, which can be harmful if inhaled. Therefore, it's essential to clean up the dust after sanding. Here are the steps to follow:
- Use a broom to sweep off the loose dust and debris from the deck surface.
- Use a vacuum cleaner to clean up the dust from the deck surface, railings, and stairs.
- Use a damp cloth to wipe down the deck surface, railings, and stairs to remove any remaining dust particles.
Applying a Finish
After sanding and cleaning the deck, the next step is to apply a finish to protect the wood from the elements. Here are the steps to follow:
- Choose the right finish for your deck. There are several types of finishes, such as clear sealers, stains, and paints. Choose the one that suits your needs and preferences.
- Apply the finish according to the manufacturer's instructions. Use a brush, roller, or sprayer to apply the finish evenly to the deck surface.
- Let the finish dry completely before using the deck. The drying time depends on the type of finish you choose.
By following these post-sanding procedures, you can ensure that your deck looks great and lasts longer.

Maintaining Your Deck After Sanding
Once you have finished sanding your deck, it is important to maintain it properly to keep it looking good and to prevent future damage. Here are some tips for maintaining your deck after sanding:
Clean Regularly
Dirt, debris, and moisture can accumulate on your deck, leading to mold, mildew growth, and other forms of damage. To prevent this, it is important to clean your deck regularly. Use a broom or leaf blower to remove debris and a hose or pressure washer to rinse the deck. You can also use a deck cleaner to remove stains and dirt.
Apply a Sealant
After sanding your deck, applying a sealant to protect it from moisture and other forms of damage is recommended. Many different types of sealants are available, including clear, tinted, and solid-colour sealants. Choose the one that best suits your needs and apply it according to the manufacturer's instructions.
Inspect and Repair
Regularly inspect your deck for signs of damage, such as cracks, splinters, or loose boards. If you notice any damage, repair it as soon as possible to prevent it from getting worse. Use a hammer and nails to secure loose boards and a wood filler to fill in cracks and splinters.
Avoid Heavy Furniture
Heavy furniture, such as large planters or outdoor sofas, can damage your deck over time. To prevent this, use furniture pads or place furniture on a rug to distribute the weight more evenly.
Refinish as Needed
Over time, your deck may show wear and tear, even with proper maintenance. If this happens, you may need to refinish your deck. Sand the deck again to remove the old finish, and then apply a new coat of stain or paint.
Following these tips, you can maintain your deck after sanding and keep it looking great for years.
Conclusion
In conclusion, learning how to sand a deck is essential for any homeowner looking to maintain their outdoor space. Following the steps outlined in this guide, you can achieve a beautifully smooth and well-prepared surface ready for staining or sealing. Remember to prioritize safety, invest in the right tools, and take your time to ensure a job well done. With proper maintenance, your deck will look fantastic and stand the test of time, providing countless enjoyable moments in your outdoor oasis.
Frequently Asked Questions
Can you sand a wet deck?
Yes, you can sand a wet deck, but it's generally recommended to let it dry thoroughly before sanding to ensure the best results. Sanding a wet deck can be less effective and may damage the sandpaper. Waiting for the deck to dry will allow for a smoother and more even sanding process, resulting in a better finish when refinishing or staining the deck.
What is the most efficient way to sand a deck?
The most efficient way to sand a deck is to use a floor sander. It can cover large areas quickly and evenly. However, it may not be suitable for smaller or hard-to-reach areas. In these cases, a hand-held sander or sandpaper may be more appropriate.
How should I sand my deck?
Start by removing any furniture or objects from the deck. Sweep the deck to remove any debris or loose dirt. Then, use a sander or sandpaper to sand the deck in the direction of the wood grain. Start with a coarse grit and gradually work up to a finer one. After sanding, sweep the deck again to remove any sawdust.
Should you sand or clean the deck before staining?
Yes, it is recommended to sand or clean the deck before staining. Sanding helps remove any old stain or sealant and smooth out rough spots or splinters. Cleaning removes any dirt, grime, or mold that may have accumulated on the deck. This ensures that the stain will adhere properly and last longer.
What is the best sander for a deck?
The best sander for a deck depends on the size and condition of the deck. For larger decks, a floor sander may be the most efficient option. A hand-held sander or sandpaper may be more appropriate for smaller areas or hard-to-reach spots. It is recommended to use a random orbital sander for the best results.
How long does it take to sand a deck?
The amount of time it takes to sand a deck depends on the deck's size, the wood's condition, and the type of sander used. Sanding a deck can take anywhere from a few hours to a full day or more. Taking breaks and pacing yourself is important to avoid fatigue or injury.
Do I need to sand my deck before sealing?
Yes, it is recommended to sand the deck before sealing. Sanding helps remove any old stain or sealant and smooth out rough spots or splinters. This ensures that the sealant will adhere properly and last longer. It is also recommended to clean the deck before sealing for the best results.