To sharpen a bowl gouge, secure it in a sharpening jig, set the angle using a protractor or the manufacturer's recommendation, and grind the bevel with a slow, controlled motion on a sharpening wheel.
Exploring the art of woodturning unveils a world of creativity, and mastering the tools is key to shaping your vision. For beginners, honing the bowl gouge is a fundamental skill that unlocks precision and control. In this guide, we demystify the process, offering a straightforward approach to sharpening your bowl gouge. Elevate your woodturning game by understanding the nuances of this essential tool, empowering you to craft with confidence and finesse.
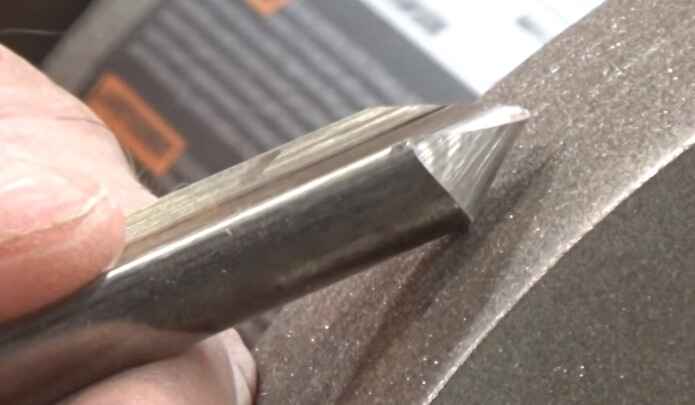
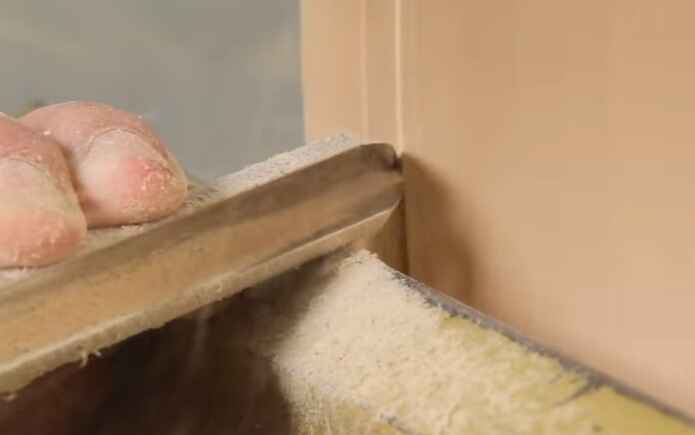
It's important to sharpen your bowl gouge regularly because a dull blade will cause the wood to tear instead of being cut cleanly. This results in a poor-quality bowl and can also be dangerous.
On the other hand, a sharp blade will produce a smooth surface with clean edges. It's also essential to keep your blade sharpened to avoid accidents. So make sure to sharpen your bowl gouge often and always use caution when using this tool.
Related: What is the proper way to sharpen a chisel with a honing guide?
Is there a specific angle you should sharpen your bowl gouge?
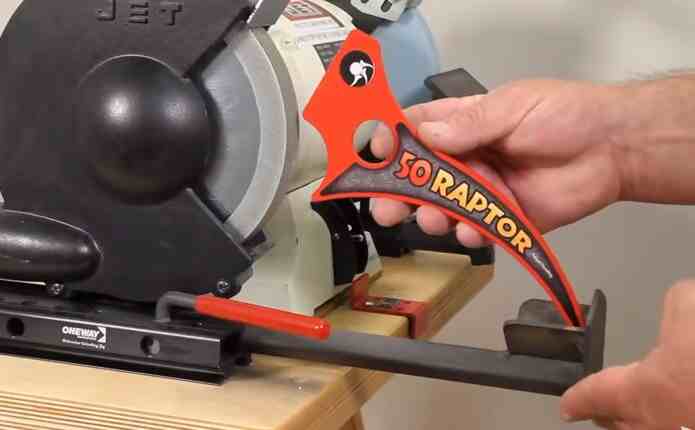
You can sharpen your bowl gouge at a few different angles, but the most common is around 30 degrees. Some woodworkers prefer to sharpen their tools at a more obtuse angle of around 45 degrees, while others prefer a more acute angle of around 15 degrees. Experiment with different angles to see what works best for you.
What is the proper way to hold the bowl gouge while sharpening it?
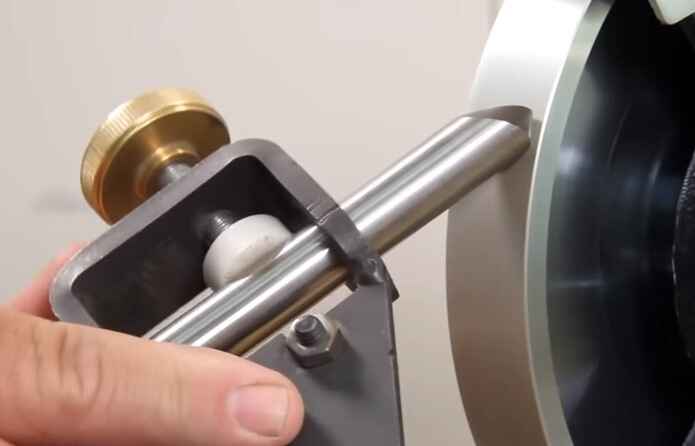
There is no "proper" way to hold the bowl gouge while sharpening it. Some people prefer to hold the tool close to the handle, while others prefer to hold it further down the shaft. Whatever feels most comfortable and gives you the most control is the best way to hold it.
How do you know when the bowl gouge is sharp enough?
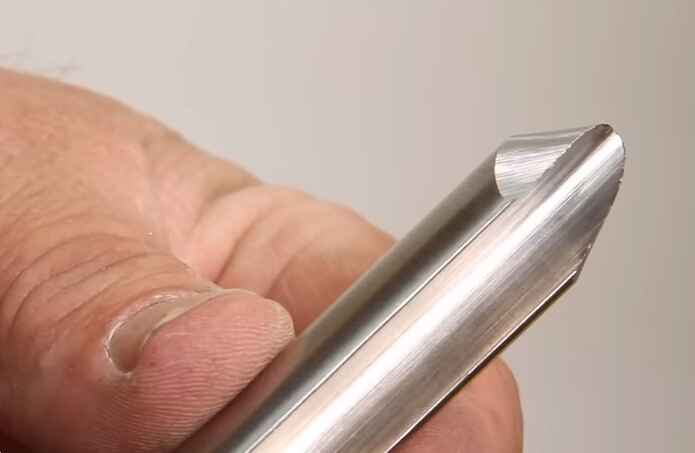
It's sharp enough when it cuts into the wood easily and smoothly. You can test the sharpness of the gouge by making a few cuts into some scrap wood. The cut will be rough and uneven if the bowl gouge is dull. If the gouge is sharp, the cuts will be smooth and even.
You can also test the sharpness of a bowl gouge by trying to make a fingernail mark in a piece of wood. A fingernail mark is a shallow indentation about 1/16-inch deep and 1/8-inch wide. A sharp bowl gouge should be able to make a fingernail mark with ease.
Related: Why Should You Sharpen Cheap Chisels?
How to sharpen a bowl gouge?
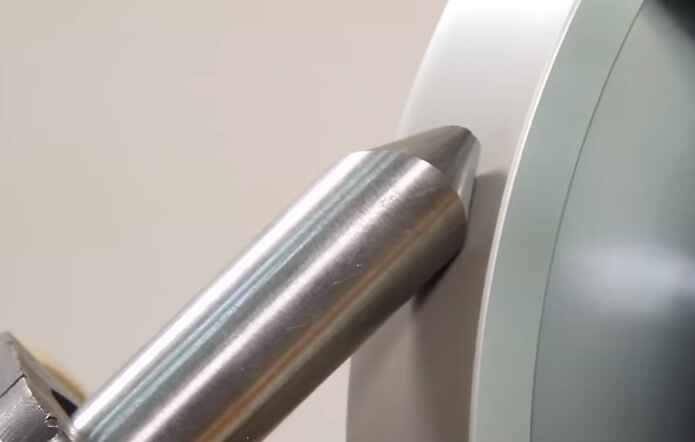
Assuming you have a bowl gouge with a standard flute, here are the steps to sharpen it. The order in which the steps are performed may vary depending on the brand and model of your grinder.
- Check the manufacturer's instructions to find the correct wheel for your grinder. You will need a wheel with a grit of at least 60. If you are using a portable grinder, make sure the wheel is mounted securely.
- Before you begin, wear safety glasses and a dust mask to protect your eyes and lungs from flying debris.
- Remove the bowl gouge from its case and inspect it for damage. If the flute is damaged, it will need to be replaced.
- Position the bowl gouge so that the flute points up and the cutting edge faces the wheel.
- Slowly lower the bowl gouge onto the wheel, applying gentle pressure.
- Move the bowl gouge back and forth across the wheel, keeping the cutting edge at a consistent angle.
- Every few passes, stop and check the sharpness of the cutting edge. Then, if it still needs to be sharp, continue grinding.
- Once the cutting edge is sharp, use a strop to hone it further. A strop is a leather or canvas impregnated with an abrasive compound.
- To use the strop, hold the bowl gouge and the strop in the other. Then, rub the cutting edge of the bowl gouge back and forth across the strop.
- Inspect the cutting edge again. If it still needs to be sharp, repeat steps 7-9.
- Once the cutting edge is satisfactorily sharp, clean the bowl gouge with a cloth dampened with denatured alcohol. This will remove any abrasive residue from the grinding process.
- Replace the bowl gouge in its case and store it safely until you are ready to use it again.
Now that you know how to sharpen a bowl gouge, you can keep it in good condition to be ready whenever you need it. With a bit of practice, you'll be able to get a razor-sharp edge every time.
You can learn how to sharpen a bowl gouge in the video below:
What are the common mistakes people make when sharpening bowl gouges?
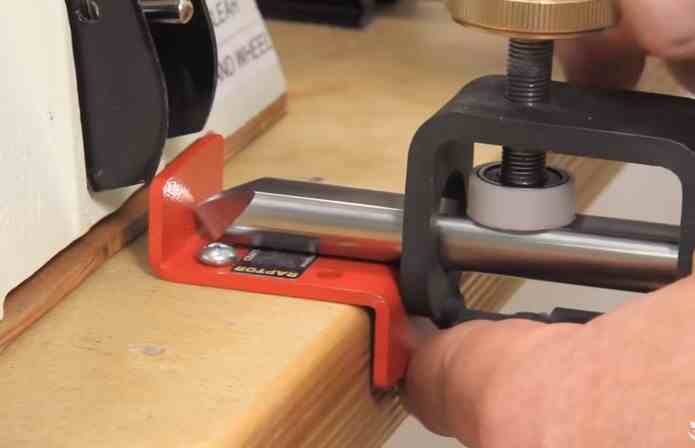
Bowl gouges can also be one of the most frustrating tools if they need to be sharpened correctly. Here I will discuss five common mistakes people make when sharpening bowl gouges and how to avoid them.
1. Not using the correct grinding wheel
One of the most common mistakes people make when sharpening bowl gouges is using a different grinding wheel. Two grinding wheels can be used to sharpen bowl gouges – a coarse wheel and a fine one. A coarse wheel is typically used to grind away significant nicks and damage, while a fine wheel is used to hone the edge and create a sharp, clean edge.
2. Not using the correct bevel angle
Another common mistake people make when sharpening bowl gouges is not using the correct bevel angle. The bevel angle is the angle between the cutting edge of the tool and the rest of the tool. When sharpening a bowl gouge, it is important to use a bevel angle appropriate for the material you will be cutting. For example, softer woods such as pine or basswood can be cut with a smaller bevel angle, while harder woods such as maple or oak require a larger bevel angle.
3. Not using the correct honing angle
Like the bevel angle, the honing angle describes the angle between the cutting edge of a tool and its rest. However, the honing angle is less critical than the bevel angle and can be adjusted to personal preference. A good rule of thumb is to use a honing angle that is half the bevel angle. For example, if you use a 30-degree bevel angle, you would use a 15-degree honing angle.
4. Not maintaining consistent pressure
Another common mistake people make when sharpening bowl gouges is not maintaining consistent pressure. When grinding or honing the edge of a bowl gouge, it is essential to apply even pressure throughout the entire process. This will ensure that the edge is ground or honed evenly and prevent the tool from becoming unbalanced.
5. Not maintaining a consistent angle
The final common mistake people make when sharpening bowl gouges is not maintaining a consistent angle. When grinding or honing the edge of a bowl gouge, it is important to hold the tool at a consistent angle. This will ensure that the edge is ground or honed evenly and prevent the tool from becoming unbalanced.
By avoiding these five common mistakes, you can ensure that your bowl gouges are sharpened correctly and ready for your next woodturning project.
The most important things to remember when sharpening a bowl gouge
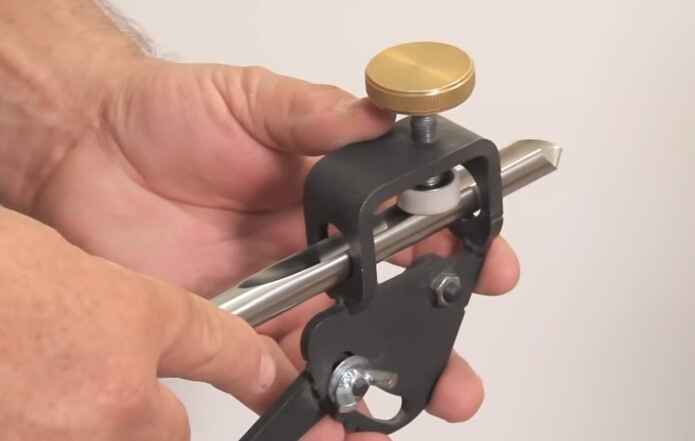
There are bowl gouges, and then there are bowl gouges. The difference? Sharpness. A bowl gouge that is not sharpened correctly is about as useful as a spoon. Here are the most important things to remember when sharpening a bowl gouge:
1. Grind the bevel evenly.
An uneven bevel will cause the bowl gouge to chatter when you use it, which is annoying and dangerous.
2. Use a jig.
A bowl gouge jig helps to keep the bevel at the correct angle and prevents you from over-grinding the tool.
3. Use a sharpening stone.
A sharpening stone will give you a sharper edge than a file or sandpaper.
4. Don't forget to hollow grind.
The bowl gouge should be hollow ground so it can be cut cleanly into the wood without catching or tearing the grain.
5. Sharpen often.
A bowl gouge that is not regularly sharpened will quickly become dull and more difficult to use.
6. Be careful not to overheat the tool.
Overheating the bowl gouge can damage the temper of the steel and make the tool more difficult to use.
7. Store the bowl gouge properly.
When not in use, store the bowl gouge in a safe place where it will not be damaged.
Final Words
In conclusion, using a sharp bowl gouge is key to preventing catches and tears in your work. Following the simple steps outlined in this blog post, you can keep your bowl gouge razor-sharp and improve your woodturning results. So, what tips do you have for keeping your bowl gouge sharp?