Yes, you can sand stained wood. Gently sand the surface to remove imperfections or prepare it for refinishing. Use fine-grit sandpaper, and be cautious not to remove too much of the stain.
Embarking on a DIY project or reviving a cherished piece of furniture often involves the question: Can you sand stained wood? As a curious enthusiast, you're about to discover the ins and outs of this common dilemma. In this blog post, we'll unravel the mysteries, providing insights from your perspective to guide you through the process of sanding stained wood and achieving a flawless finish. Get ready to transform your wooden wonders with confidence!

Generally speaking, it is possible to sand stained wood to remove any staining and prepare the surface for a new finish. However, it should be noted that when you are sanding stained wood, you need to take extra precautions due to the potential for a colored stain entering into the grain of the wood.
When sanding stained wood, either hand-sanding or a power sander will work. Care must be taken when choosing a grit and taking your time with careful repetition, as this will help avoid potential damage from deep scratches caused by higher grits.
It's important that as much of the stain is removed while still preserving as much of its original character as possible.
What are some of the most common reasons people might want to sand stained wood?

Sanding stained wood can be a great way to prepare it for refinishing and make it look new again. Here are five common reasons why people might want to sand stained wood:
1. Refinishing
Sanding stained wood helps prepare it for refinishing, creating a smooth surface that will accept new paint or stain.
2. Brightening Up
Sanding stained wood can help brighten up your furniture's colour, making it look newer and fresher.
3. Fix Imperfections
Sanding stained wood can help to fix minor imperfections, such as scratches and dents.
4. Protecting
Sanding stained wood helps protect it from dirt, dust, and other debris that could build up over time.
5. Removing Old Finish
Finally, sanding stained wood helps remove an old finish, allowing a new finish to be applied.
With these five common reasons, you can now understand why sanding stained wood is an important part of refinishing. Whether you're just looking to freshen up your furniture or give it a complete makeover, sanding will help get the job done!
What are some of the pros and cons of sanding stained wood?
Sanding stained wood can be tricky, but with the right information and tools, it can be done effectively. Here are some of the pros and cons of sanding stained wood:
Pros:
1. Improved Appearance
Sanding stained wood can help improve the appearance of furniture or other items by removing scratches and scuffs and making the wood look smooth and even.
2. Enhanced Durability
Sanding stained wood can make the surface more durable by removing weak spots that could break or splinter over time.
3. Preparing for Repainting
Sanding stained wood is an important step if you're planning to repaint it, as it will help the paint adhere better and last longer.
4. Reducing Irregularities
Sanding stained wood can reduce any irregularities that may have occurred during the staining process, such as brush strokes or uneven coloring.
5. Increased Value
If you plan to sell furniture or other items made of stained wood, sanding it can help increase its value by making it look more appealing to potential buyers.
6. Easier Maintenance
After sanding stained wood, it's easier to clean and maintain as dust and dirt won't stick as easily to the smooth surface.
Cons:
1. Unnecessary Damage
If done incorrectly, sanding stained wood can cause unnecessary damage to the wood itself, such as scratches or discoloration.
2. Time-Consuming
Sanding stained wood can be time-consuming, requiring patience and careful attention to detail.
3. Expensive
Sanding stained wood also requires specialized tools, which can be expensive depending on what type you need.
Sanding stained wood has pros and cons that should be considered before beginning the process. With the right information and tools, though, it can be done effectively and safely to improve the appearance and value of furniture or other items made of wood.
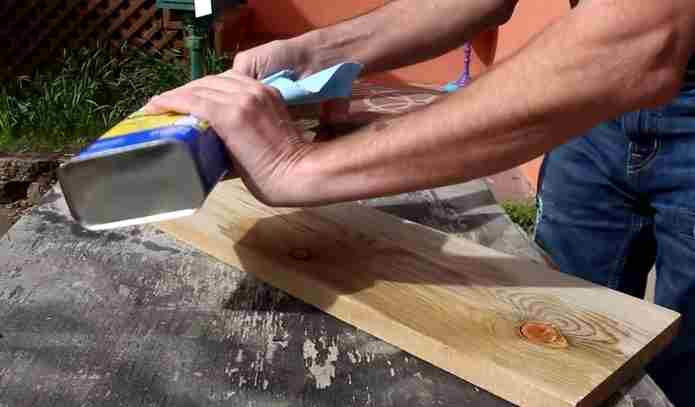
How to sand stained wood by hand?
Sanding stained wood by hand can be time-consuming, but the results are worth it. Follow these steps to sand stained wood easily and effectively:
1. Preparing the Wood
To prepare the wood for sanding, use medium-grit sandpaper (such as 80 grit) to remove any existing sealer or varnish from the surface of the wood. This will ensure all stains are removed before you move on to finer grits.
2. Sanding with Coarser Grits
Using a circular motion, begin lightly sanding in one direction with your chosen coarse-grit paper (such as 40 to 60 grit). Make sure to sand the entire wood surface, paying particular attention to corners and difficult-to-reach areas.
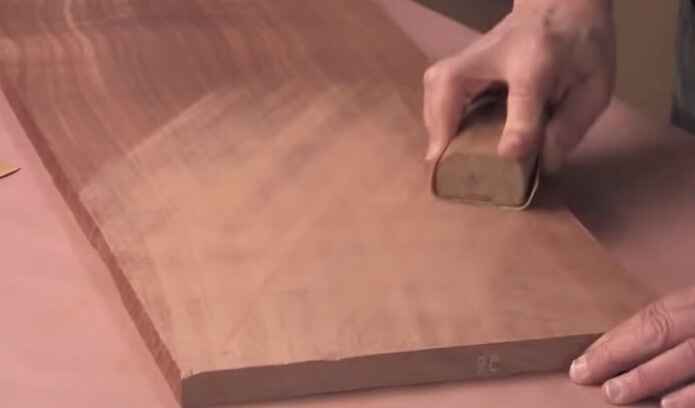
3. Refining with Finer Grits
Once you have finished sanding with the coarse grits, switch to a finer-grit paper (such as 120 or 150 grit). Use the same circular motion and work your way from one end of the wood to the other. Remember that you don't need to apply too much pressure; light strokes are more effective.
4. Finishing Up
Once you have finished sanding with the finer grits, use a piece of fine-grit steel wool (000 or 0000) to give the surface a soft, smooth finish before applying any stain or sealer.
By following these steps, you will be able to sand stained wood by hand quickly and easily. The key is to move slowly and patiently to achieve a beautiful, professional-looking finish.
How to sand stained wood with a power sander?
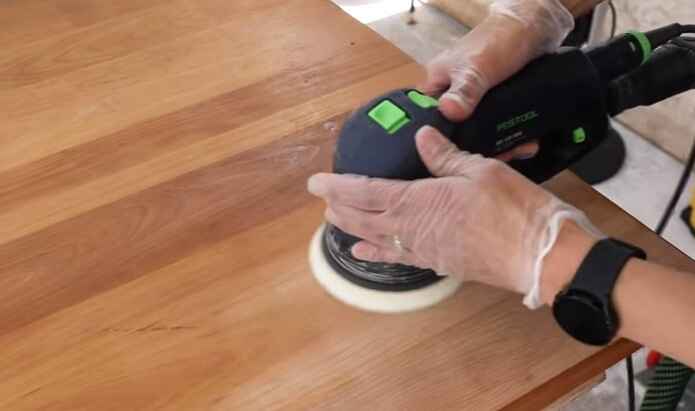
Sanding stained wood with a power sander can be intimidating, but don't worry! With the right information and tools, you can easily sand stained wood. Here's how to do it:
Step 1: Gather Supplies
You'll need a power sander, sandpaper of the correct grit for the job, a dust-collection bag and goggles to protect your eyes.
Step 2: Prepare the Wood
Make sure the wood is clean and free of dust. Wipe it down with a damp cloth, and then let it dry.
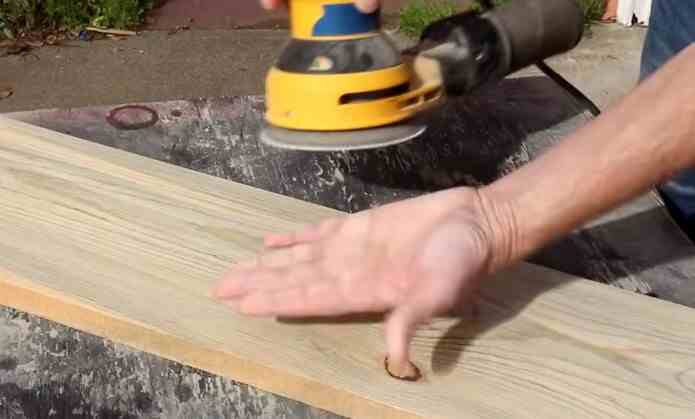
Step 3: Select the Right Sandpaper Grit
Choose a sandpaper grit that is appropriate for the job. A coarse grit (40-80) is best for removing paint and stain, while a fine grit (120-220) is better for smoothing out the surface.
Step 4: Sand with Grain
Always sand in the direction of the wood grain for a professional finish. This will help prevent unsightly scratches and gouges. Start with coarse grit and use decreasing grits until you reach your desired smoothness.
Step 5: Vacuum Between Grits
Vacuuming between each grit will remove dust and debris from the surface, helping to ensure a clear finish.
Step 6: Apply Finishing Coatings (Optional)
If desired, apply additional coatings such as sealer or stain after completing all sanding. Follow instructions on any coating product carefully; some may require sanding between each coat.
And there you have it! Sanding stained wood with a power sander is not as intimidating as it may seem. With the right information and supplies, you can have beautiful results quickly!
What are some of the potential risks associated with sanding stained wood?
Sanding stained wood can be a tricky endeavor. Here are five potential risks to be aware of when sanding this type of wood:
1. Dust Exposure:
When sanding, dust particles become airborne and can be inhaled or ingested, leading to breathing problems and other health issues.
2. Heat Damage:
High-speed sanders generate heat and can scorch the finish if left in one spot too long. This could potentially damage the wood's appearance and integrity.
3. Scratches:
Fine scratches from the sandpaper might not be visible immediately but may appear after applying to stain, marring the finished product's surface with unsightly marks.
4. Discoloration:
Excessive sanding can remove some of the wood's natural color, making it look dull and discolored.
5. Poor Finish:
Not sanding enough or using the wrong sander could result in a lack of smoothness on the finished surface, preventing a quality finish.
What are some tips for avoiding damage while sanding wood?

Sanding wood is an important step in many DIY projects. While sanding, it is important to be mindful of how you handle the wood to ensure it is not damaged. Here are 7 tips for avoiding damage while sanding wood:
1. Prepare Thoroughly:
Before beginning a project, make sure the area is clear, and all tools are in working order. Take time to inspect the surface you will be sanding, identifying any weak spots or areas needing more attention before sanding.
2. Choose the Right Equipment:
Select the right tool for your application. Consider manual, and power sanders depending on your needs, and use proper safety gear like work gloves, face masks and safety glasses when using powered tools.
3. Start with Coarse Grits & Move Upward:
Begin with an abrasive paper of coarse grit, such as 40- or 80-grit. This will quickly remove old finishes and any imperfections but can leave deep scratches in the wood. Once the major defects have been removed, move to increasingly finer grits, such as 100-, 120- and 220-grit.
4. Sand with the Grain:
Keep the sandpaper moving with the grain of the wood for best results. Moving against the grain can cause damage that is difficult to repair after staining or refinishing.
5. Use a Vacuum Cleaner:
Use a vacuum cleaner to pick up sanding dust while working on any project. The vacuum hose should always be kept close when sanding to minimize dust and help prevent the inhalation of dust particles.
6. Test a Sample:
Sand a small sample area before tackling the entire project to test what type of sandpaper works best for your specific task.
7. Be Gentle:
Take your time and be gentle while sanding, using light pressure and slow strokes. This will ensure you don't dig too deeply into the wood and cause permanent damage that cannot be undone.
These tips will help you properly sand your wood without damaging it, producing a smooth, professional finish. Have fun and be safe!
Final Words
If you're dealing with a stained wood surface, sanding is the best way to create an even finish. Be sure to use the right type of sandpaper for your project — coarse for dramatic results or fine for a smoother look. You'll have great results with a little elbow grease in no time.