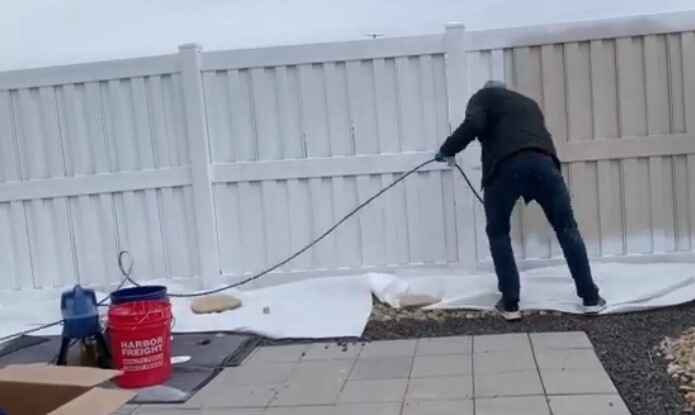
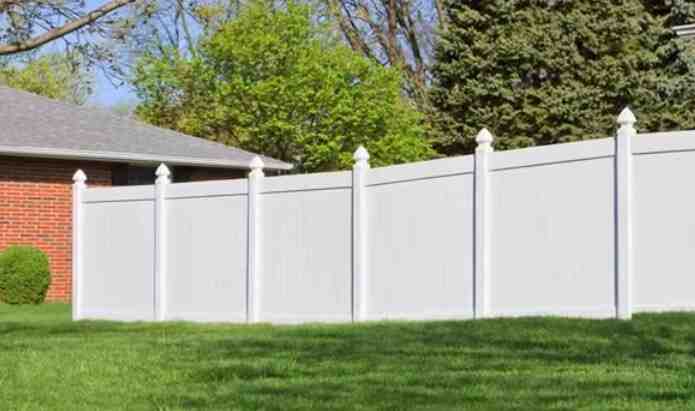
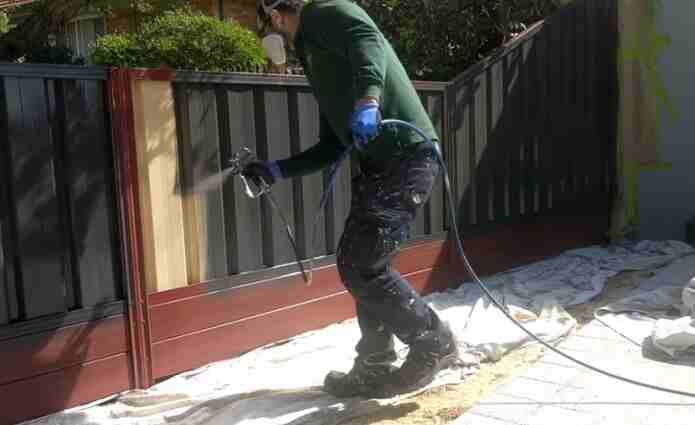
Yes, you can paint a vinyl fence, but it's essential to use a paint specifically designed for vinyl surfaces. Choose a high-quality exterior acrylic latex paint, and ensure the vinyl is clean and dry before applying the paint for optimal adhesion.
Unlocking the vibrant potential of your outdoor space is a DIY dream, and what better way to do it than by adding a pop of color to your vinyl fence? Join me on a creative journey as we explore the exciting realm of painting vinyl fences. Whether you're looking to refresh the existing hue or completely transform the look, we'll delve into the ins and outs of this DIY adventure. Discover the possibilities, unleash your inner artist, and let's bring a burst of personality to your outdoor oasis!

Painting a vinyl fence comes with many benefits. Here are five of them:
1. Increased Wear Resistance
Paint can protect the vinyl from UV radiation and other environmental hazards, making it last longer and stronger. Applying a coat of paint also creates a barrier against moisture, which helps the fence fend off any potential damage. Additionally, paint can help to prevent fungus and mildew growth on the surface of the vinyl.
2. Increased Home Resale Value
Adding a coat of paint to a vinyl fence can create an attractive look that significantly enhances a home's curb appeal. This can increase its resale value, as a well-maintained fence can be seen as an attractive feature for potential buyers.
3. Increased Aesthetic Appeal
Paint comes in many colors and tones, allowing homeowners to customize their vinyl fence and match it with any outdoor décor they wish. Homeowners can also add decorative accents or patterns to their fences with paint to make them stand out from the crowd.
4. Low Maintenance Costs
Painting is a relatively inexpensive way to spruce up a vinyl fence without spending much on labor or materials. Plus, painting requires less maintenance than other treatments, such as staining or sealing.
5. Extended Life Span
Properly applied paint can keep a vinyl fence looking good for many years, reducing the need for costly repairs or replacements. Plus, if the paint starts to look worn or faded over time, applying another coat of paint is easy and inexpensive to restore it to its original condition.

Disadvantages of painting vinyl fence
Paint can be a great way to enhance the beauty of vinyl fencing as well as chain link fence.. However, there are some disadvantages to consider.
1: Fading and Peeling
Vinyl is not designed for paint adhesion and may not last over time. Due to drastic temperature changes, the paint will likely fade in direct sunlight and peel off. Additionally, if sprayed incorrectly, the paint could seep into the pores of the fence, which may cause blistering or bubbling.
2: Wear and Tear
Painting a vinyl fence can make it more susceptible to wear and tear. Because of their flexibility, they tend to move slightly with any pressure applied to vinyl fences. This can cause the painted surface to crack and flake off over time due to the constant shifting of the materials.
3: Cost
Painting a vinyl fence is more costly than other fencing materials when it comes to maintenance, as you may need to repaint or touch up your fence every few years for it to remain to look vibrant. Additionally, if you plan on using a professional installation service, that cost can add up quickly. Ultimately, painting a vinyl fence requires long-term commitment in terms of money and effort.
How to paint a vinyl fence?

Painting a vinyl fence is an easy and rewarding DIY project. Your fence will look great for years with the right preparation and material. Here's how:
Step 1: Clean the Vinyl Fence
Begin by removing dirt, dust, and debris with a garden hose or pressure washer. Scrub stubborn stains with soapy water and a soft-bristled brush before rinsing again. Allow ample time for the surface to dry completely before proceeding.
Step 2: Sand the Surface
Rough up the surface of your vinyl fence with 120-grit sandpaper to create a slightly textured surface for the paint to adhere more securely. Then wipe down the entire area with a damp cloth to remove any sanding residue.
Step 3: Apply Primer
Use a latex primer explicitly designed for vinyl surfaces and apply two or three even coats. Allow the primer at least 24 hours to dry before moving on to painting.
Step 4: Choose Your Paint Color
Pick a paint color that suits your taste and mix it with high-quality exterior acrylic latex paint. Before continuing, test out a small area first and ensure you like the look.
Step 5: Apply Paint
Once you're satisfied with your color, apply the paint in even strokes, going in one direction at a time and using a brush for hard-to-reach areas or detailing. Allow each coat to dry completely before applying the next.
Step 6: Protect Your Work
Once your paint is thoroughly dry, spray on a weatherproof clear sealer to protect it from UV damage and harsh weather conditions. Wait 24 hours after applying the sealer before letting anyone walk near or touch your newly painted fence.
Step 7: Maintenance
Clean vinyl fences periodically with an all-purpose cleaner to keep them looking great for years. Use mild detergent and water and rinse thoroughly.
Step 8: Enjoy!
You're done! Step back, admire your work, and enjoy your new vinyl fence. You've achieved a professional finish in no time at all. Congratulations!
Tips for maintaining the painted vinyl fence
Maintaining a painted vinyl fence is essential to keeping your yard looking fantastic. You can ensure that your fence will last for years with proper care and attention. Here are some tips to help you keep your fence looking its best:
1. Clean Regularly:
It's essential to clean your vinyl fence regularly to remove any dirt, debris, and dust. Use a mild detergent with warm water and a soft-bristled brush. Rinse the area thoroughly when you're done.
2. Inspect for Damage:
Inspecting your vinyl fence regularly for signs of wear and tear or other damage is essential. Look for cracks, splits, warping or chipped paint that needs touching up. Make necessary repairs as soon as possible to prevent further damage from occurring.
3. Touch-Up Paint:
If there are areas on your fence where the paint has started to chip or fade away, it's time to touch it up with fresh paint. Use paint specifically designed for vinyl fences, and follow the instructions carefully.
4. Seal Gaps:
Check your fence for gaps or cracks in the vinyl where water can get in and damage the wood underneath. If you spot any, fill them with a clear sealant to prevent further damage from occurring.
5. Check hardware:
Be sure to check all hardware, such as screws, bolts, nuts, and hinges on your fence periodically to ensure everything is still securely fastened. Replace any damaged or rusted pieces to keep your fence looking its best.
6. Remove Weeds & Pests:
Finally, be sure to regularly remove weeds that may try to grow up through the slats of your fence and check for any pests that may be nesting in or around it. Keeping the area clear of these will help keep your fence looking good for longer.
Conclusion
In conclusion, painting a vinyl fence is possible but requires careful consideration and preparation to achieve a durable and long-lasting finish. While vinyl fences resist fading, they can become discolored over time due to exposure to the elements. To ensure that the paint adheres properly, the fence must be thoroughly cleaned and primed before painting.
Additionally, it's essential to use the correct paint type and apply it evenly and in the right weather conditions. By following these guidelines, it is possible to refresh the look of a vinyl fence and extend its lifespan. However, it's important to note that painting a vinyl fence may void its warranty, so check with the manufacturer before proceeding.