Yes, you can screw into Hardie board siding using appropriate screws designed for cementitious siding. Pre-drilling may be necessary to prevent cracking. Always follow the manufacturer's guidelines for installation.
As homeowners and DIY enthusiasts know, working with Hardie board requires precision and care. In this blog post, we'll delve into the intricacies of attaching screws to Hardie board siding, addressing common concerns and providing expert tips for a successful installation. Whether you're embarking on a home improvement project or simply curious about this durable siding material, join us as we unravel the mysteries of working with Hardie board.

Hardie board is a durable cementitious siding product made of Portland cement, aggregates, and cellulose fibers. This composition makes it difficult to screw into the material. Here are some challenges you may encounter while screwing into Hardie board:
1: Difficult to Penetrate Surface
Hardie board's Surface is extremely hard and dense, making it difficult for screws to penetrate the material. This can be especially challenging if an impact driver isn't used.
2: Erosion of Screws
The wet environment created by Portland cement causes corrosion on metal screws, resulting in erosion that weakens their grip strength over time.
3: Incorrect Anchors
When using anchors to drill into the board, it is important to ensure they are properly sized and weighted. If not, the anchor might pull out of the Hardie board due to its dense composition.
4: Insufficient Support
Screws tend to sink deeper into the Hardie board over time if insufficient support is provided. This can weaken the connection and cause screws to back out of their holes.
5: Splitting material
If an installer is not careful while driving screws into the material, they may split or crack the product. To prevent this from happening, make sure that screws are inserted at least 1/8-inch away from all edges of the Hardie board.
Importance of finding the right screws and drill bits to avoid damage Hardie board siding

Finding the right screws and drill bits is vital for Hardie board installation.
1: Avoid damage.
Using the wrong screws and drill bit can damage the siding boards, leaving unsightly gaps or cracking them altogether. Choosing a screw that securely holds the board in place without damaging it is important.
Drill bits should match the length of the screws and be designed specifically for Hardie Board siding, as this helps prevent splitting or cracking of the boards when driving them into place.
Using proper hardware, you'll enjoy a neat finish without any issues.
2: Choose Quality Products.
Cheaper screws and drill bits are not always the best when installing Hardie Board siding. Investing in high-quality hardware will ensure that your boards are securely fastened and won't be damaged over time due to inferior materials.
Look for products designed specifically for Hardie Board installation, which will be longer-lasting and provide a better finish.
3: Consider the Climate.
The climate where you live can also affect the screws and drill bits needed for Hardie Board installation. In colder climates, stainless steel screws should be used to avoid corrosion from moisture or ice. Galvanized screws should be chosen in hot climates as they are less likely to corrode due to heat exposure. Likewise, choose a drill bit that is suitable for the climate where you live.
4: Follow Instructions Carefully.
To ensure that your Hardie Board siding is installed properly, it's important to follow the instructions provided with the product carefully. This will help you choose the right screws and drill bits for installation in different climates and advise what drill bit should be used for any specific project.
5: Have Expert Help Ready.
If you're unsure about what type of hardware to use when installing Hardie Board siding, having an expert handy who can provide advice or even do the job for you may be worthwhile. An experienced contractor will know which tools are best suited for each project and can advise you on the best screws and drill bits for the job.
How to screw into Hardie board siding?

Installing Hardie board siding is a simple task that adds a layer of protection and insulation to the exterior of your home. Here's a guide on how to get it done:
1. Prepare the Area:
Clear away any loose debris around where you plan to install the siding. Measure and mark each area where you need installation, and ensure that nails or screws will be properly placed to secure the Hardie board siding.
2. Drill Holes:
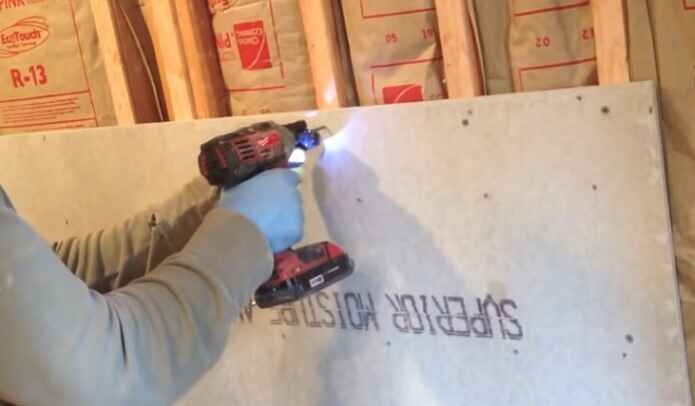
Drill pilot holes at regular intervals along the marked areas using a masonry drill bit, making sure not to go deeper than necessary. This ensures proper placement of the screws and prevents them from protruding from the wall surface.
3. Select Screws:
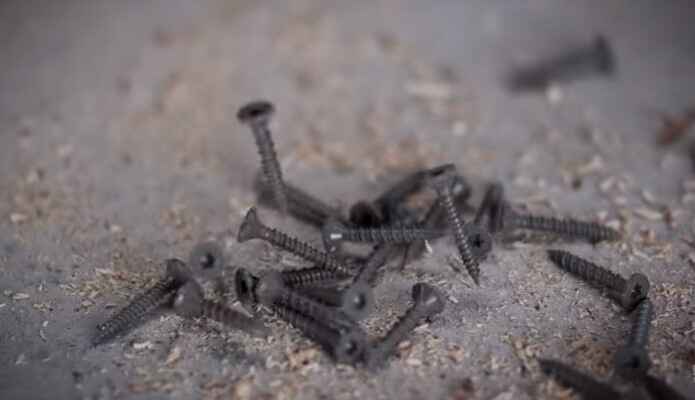
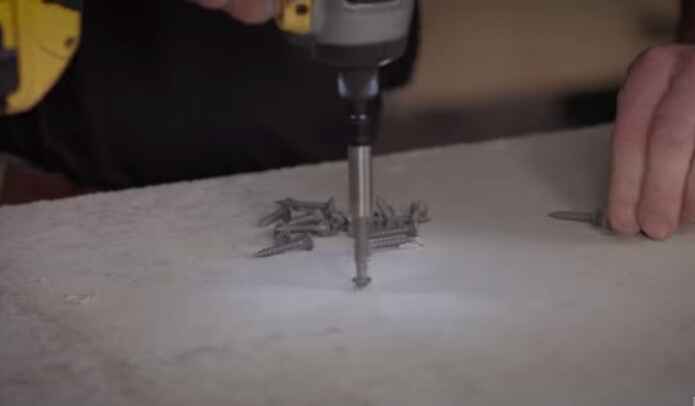
Choose appropriate length stainless steel screws that are designed for Hardie board siding (1-5/8 inches long). Make sure to select screws that are corrosion-resistant and have a wide head for stability.
4. Secure Hardie Board Siding:
Position the top of the siding where you marked it and press against the wall while using a drill to secure the screws in each pre-drilled hole. Counter-sink each screw slightly below the material's Surface to avoid protruding edges.
5. Check for Level:
Ensure that your Hardie board siding is level with a spirit-level tool by placing it on top of each section and adjusting accordingly if needed. This will give you an even finish and proper drainage when rain or snow occurs outside.
6. Add caulking:
Apply a thin caulking layer to each section's edges and corners to prevent water from seeping through. This will help protect your home and give it a more polished look.
7. Finish:
After all of the sections have been secured in place, check to ensure that no screws are protruding from the Surface and fill in any gaps or cracks with caulking for a finished product that is both secure and aesthetically pleasing.
With proper preparation and following these steps, you can easily install Hardie board siding on your own.
Advantages of screwing into Hardie board siding
Hardie board siding is a popular choice for many homeowners and builders. It offers several advantages when it comes to screwing into the material.
1: Durability
Hardie board siding is made of fiber cement, which adds durability to other materials. The screws used to attach the Hardie board can last well beyond the lifespan of the siding itself. Additionally, fiber cement resists damage from harsh weather conditions and is less likely to warp than wood or vinyl siding.
2: Resistance to Fire
Fiber cement boards are engineered with fire-resistant materials that protect against potential damage caused by fires or sparks from nearby barbecues or campfires. This makes Hardie board siding an excellent solution for areas susceptible to forest fires or high winds.
3: Ease of Installation
Screwing into Hardie board siding is quick and straightforward with the right type of screws. This makes it much easier than other materials, such as stucco or brick, which require specialized installation techniques. Fiber cement boards can be cut easily for fitting around corners or window frames.
4: Cost-Effective Solution
Hardie board siding is cost-effective since it does not require additional maintenance or repair over time like wood or vinyl siding. Furthermore, homeowners may even receive discounts on their insurance premiums due to its durability and fire resistance.
5: Aesthetic Appeal
Hardie board siding is available in various colors and textures to meet any style preference. It can also be painted without compromising the material's structural integrity, making it easy to customize the color scheme to fit any design or look. Additionally, its grainy texture provides a natural aesthetic that enhances the beauty of any home or building.
Disadvantages of screwing into Hardie board siding
The disadvantages of screwing into Hardie board siding can be significant.
1: Damage to the Siding
Hardie boards are prone to chipping and cracking when screws are used, which can reduce their effectiveness as a protective barrier. Additionally, moisture can seep through even the smallest hole created by a screw, leading to water damage and mold growth. In extreme cases, these issues may require the complete replacement of affected siding panels.
2: Stress on the Home's Framing
Screws that penetrate too deeply into the Hardie board can cause undue stress on the home's framing, potentially compromising its structural integrity over time. This is especially true for homes with lightweight framings, such as those constructed from wood studs.
3: Unappealing Aesthetics
The presence of screws can be unsightly and detract from the home's overall aesthetics. Additionally, any chips or cracks caused by inserting screws will require patching or painting to conceal them, resulting in an uneven finish.
4: Cost & Time
Holes created by screws must be filled and painted before installation is complete, which adds extra time to the project timeline and increases labor costs. To avoid this issue, contractors may opt for more expensive fasteners less likely to damage the siding panels.
5: Poor Adhesion
Screws are prone to loosening or becoming dislodged, especially if inserted into the siding at an angle. This can cause the panels to become misaligned and lead to poor adhesion, resulting in weak spots that could be easily compromised. It is important to ensure screws are correctly aligned before insertion.
Alternative options for attaching items to Hardie board siding
Getting items attached to Hardie board siding can be tricky. Here are five alternative options that might help:
1. Using Fasteners:
Fasteners such as screws and nails can attach items to Hardie board siding. Ensure that the fastener size is appropriate for the material being fixed. Also, use a drill bit with the same diameter as the screw or nail head, so it fits snugly without any gaps. Use siding-specific fasteners to prevent rusting and ensure the longevity of the attachment.
2. Caulking:
Caulk or caulking compounds can fill gaps between two surfaces before attaching them using fasteners. It also helps to seal out water and air, improving the strength of the bond. Use a caulking product compatible with Hardie board siding for the best results.
3. Adhesive Strips:
High-strength adhesive strips can provide additional support when attaching items to Hardie board siding. Use a combination of adhesive strips as well as fasteners for maximum stability. Look for products specifically designed for outdoor applications and follow manufacturer instructions carefully during installation to ensure proper strip adhesion.
4. Wall Anchors:
Wall anchors are ideal when attaching heavy items to Hardie board siding. Several types of wall anchors are available in different sizes, so make sure to select the one that meets your requirements. For example, plastic anchors are perfect for delicate items, while metal anchors provide better support for heavier items.
5. Epoxy:
Epoxy is a powerful adhesive that can securely attach items to Hardie board siding. It is best suited for heavy-duty applications where extra strength is needed. Ensure to follow the manufacturer's instructions carefully when using epoxy, as the improper application may lead to weak bonds or damage to the material. Epoxy should be applied in clean and dry conditions and allowed to cure completely before use.
Conclusion
In conclusion, while it is technically possible to screw into Hardie board siding, it is important to take the proper precautions and use the correct tools and techniques to ensure a successful installation.
Hardie board is a durable and long-lasting siding material that can add beauty and value to your home, but it is also challenging to work with due to its hardness and brittleness. Therefore, it is important to use a drill with a carbide-tipped bit to pre-drill holes and to use the appropriate screws and anchors for your project.
By following these guidelines and planning your installation carefully, you can achieve a secure and long-lasting attachment to your Hardie board siding.