To sand a plastic bumper for paint, start with a low-grit sandpaper to remove imperfections. Gradually use finer grits, finishing with a high-grit for a smooth surface. Clean thoroughly before applying primer and paint for a professional finish.
Ever wondered how to give your ride a fresh, vibrant look by painting its plastic bumper? Well, you're in the right place! In this step-by-step guide, we're diving into the nitty-gritty of sanding your plastic bumper like a pro before applying that glossy coat of paint. From choosing the right materials to mastering the techniques, join me on this hands-on journey to revitalize your car's appearance. Let's roll up our sleeves and get ready to transform that weathered bumper into a sleek canvas for a stunning paint job!
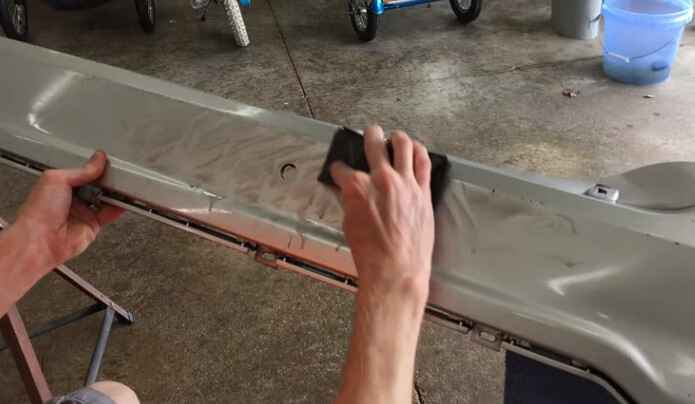
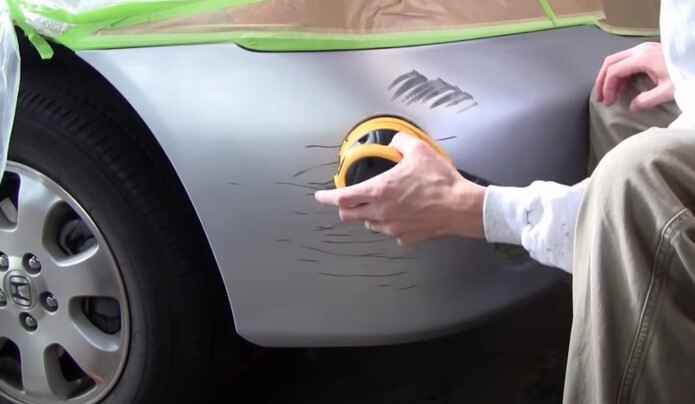
Yes, it is possible to sand plastic bumpers and paint them. Sanding plastic will help to create a smoother surface for the paint to adhere to while also helping you remove any existing imperfections or damage that may have occurred.
Depending on the type of bumper and its size, it is recommended that you use an electric sander with medium grit paper for the best results when sanding plastic bumpers. After the bumper has been properly prepped and sanded down, painting can begin using traditional spray paints or professional coatings designed specifically for plastics.
What kind of sandpaper to use on the plastic bumper?
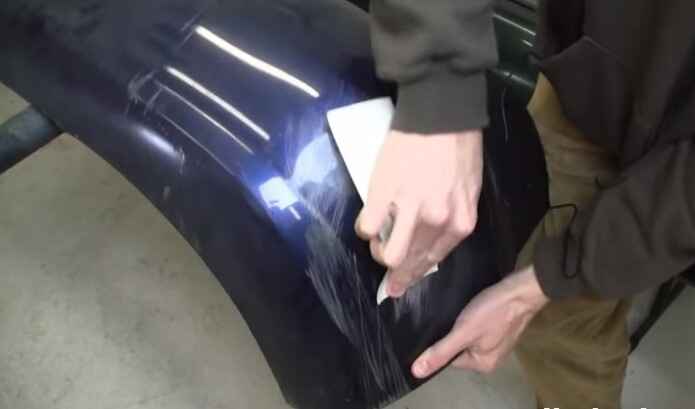
The type of sandpaper you use on plastic bumpers depends entirely on the plastic material and the repair that is intended. Generally, a range of 120 to 420 grit sandpaper works best for most plastics. For polishing plastic surfaces, consider using 1000 or higher grit sandpapers.
Sanding blocks are also recommended when working with plastics, as they provide better control over the area being worked on. Before starting any kind of project involving sanding a bumper or other plastic surface, always ensure no sharp edges are present and use caution while handling the project.
What is the best way to sand a plastic bumper for paint?
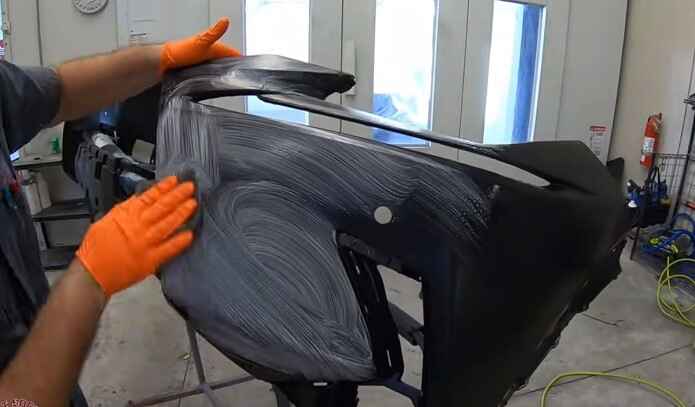
Sanding a plastic bumper for paint is crucial to getting the desired results. Here's a step-by-step guide on how to do it correctly:
Step 1: Preparing the Bumper
Thoroughly wash the bumper with soap and water. This will make it easier to sand and remove any dirt or debris.
Step 2: Sanding Process
Begin sanding the bumper with coarse-grit sandpaper. Use circular motions to remove any paint or rust. Then use fine-grit sandpaper for a smoother finish.
Step 3: Cleaning
Vacuum away all the dust and debris from the area you just sanded. Then wipe down the bumper with mineral spirits or a degreaser.
Step 4: Priming
Apply a plastic primer to the bumper with a paintbrush. This will help the paint to adhere better to the surface.
Step 5: Painting
Paint the bumper once the primer is dry. Use multiple thin coats of paint for the best results.
Step 6: Clear Coating
Apply a clear coat to protect the finish after the paint has dried. This will also give it a glossy shine.
Step 7: Final Check
Once all this is done, inspect your work and ensure everything looks good before moving on. If needed, sand any blemishes or imperfections.
Follow these steps, and you can sand a plastic bumper for paint easily and without hassle!
What is the best primer for plastic bumpers?
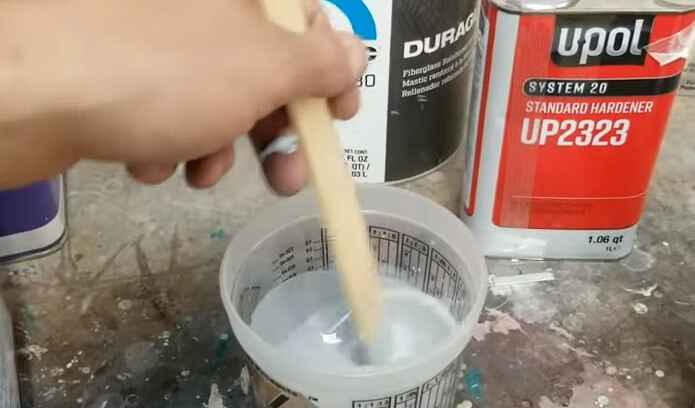
Polyvance Bumper and Cladding Coat Primer is the best primer for plastic bumpers. This unique formula is explicitly tailored to adhere to plastics, providing superior adhesion compared with conventional primers.
Additionally, its advanced formulation provides excellent rust protection and corrosion resistance for long-term durability. With Polyvance Bumper and Cladding Coat Primer, you can achieve a durable rust-resistant finish that resists abrasion, salt spray, chemicals, moisture damage, and oxidation - making it an ideal choice for use on plastic bumpers. The easy application makes it simple enough; even beginners can apply this high-performance primer in minutes.
What are some tips for painting a plastic bumper?
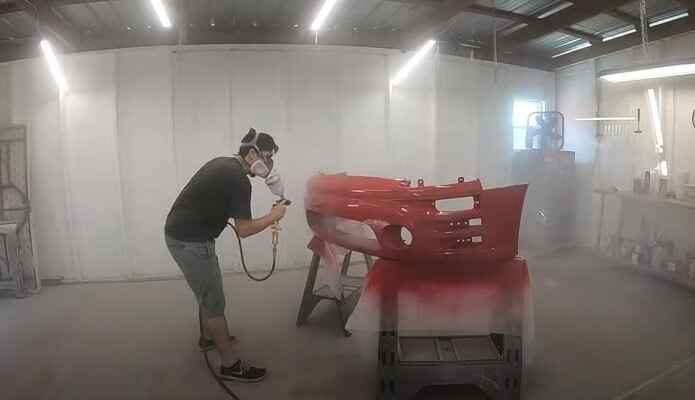
Painting a plastic bumper can be an easy and rewarding DIY project. Here are some tips to get you started:
1. Sanding & Priming
Start by sanding the bumper with fine-grit sandpaper and wiping the surface with acetone. Use a primer specifically designed for plastics before painting.
2. Masking
To keep the area around the bumper clean, mask off surrounding areas with painter's tape. Use a good-quality masking paper or plastic sheet to cover any parts you don't want to paint.
3. Applying paint
Using a paint sprayer is the best way to apply even coats of paint, but if you don't have one available, use a foam roller brush instead. Apply thin and even layers of paint from different angles for an even finish.
4. Drying time
Allow the first coat of paint to dry before applying the second coating, and make sure each layer has dried completely before adding another coat.
5. Clear Coats & Sanding Between Coats
Once finished with your base coats, apply two to three clear coats for extra protection. Between each coat, lightly sand with fine-grit sandpaper to smooth out any imperfections or dust particles that might have settled into the paint.
6. Final Finishing
Let your clear coats dry, and then use a buffing pad to give it an extra glossy finish. Once done, remove the masking tape and enjoy your beautiful work!
7. Maintenance & Care
To keep your bumper looking shiny and new, wash it with soap, water, and wax periodically to protect against dirt and damage from weather conditions.
Satisfy all your automotive painting needs with these tips for painting your plastic bumper! You can create a professional and durable finish on your plastic bumper with just a few steps and supplies.
Final Words
It's not as complicated as you think to sand plastic and get good results. With patience, time, and the right supplies, you can achieve a smooth paint job lasting for years. Did you try our method for painting your car bumper? We'd love to hear about your experience in the comments below.