Yes, you can sand wood veneer, but it requires caution. Use a fine-grit sandpaper and gentle pressure to avoid damaging the thin veneer layer. Always follow the wood grain for the best results.
Ever found yourself wondering if you can sand wood veneer without turning your project into a disaster? As a hands-on DIYer, I've tackled my fair share of woodworking challenges. In this blog post, we'll dive into the nitty-gritty of sanding wood veneer, exploring techniques, dos, and don'ts. Whether you're a seasoned woodworker or a newbie eager to perfect your craft, let's unravel the mysteries of sanding wood veneer and ensure your projects shine with finesse. Let's get our hands dusty and discover the art of veneer perfection!
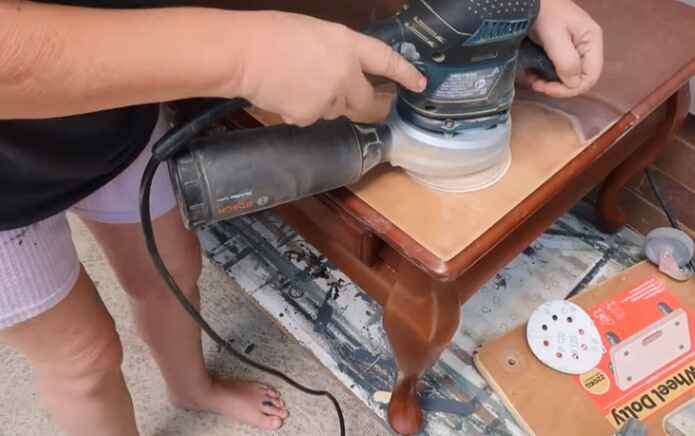
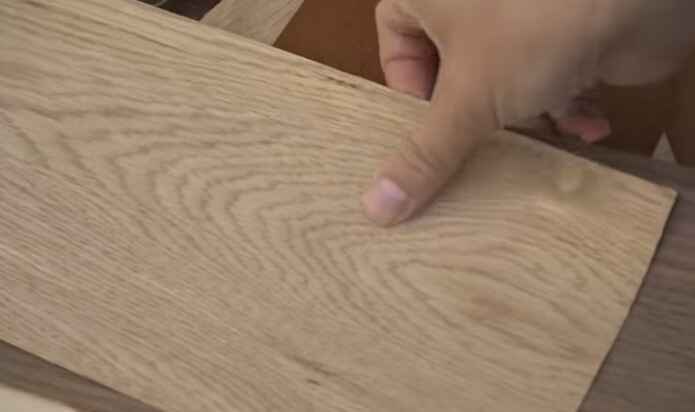
Wood veneer is a thin layer of wood created by slicing or peeling logs. Veneer is used for decorative surfaces, making furniture, doors, and panels more durable and attractive. Adhesives attach the veneer pieces before they are finished with sealants, stains, and lacquers. With veneer, woodworkers can create beautiful and unique surfaces that are more cost-effective than solid wood.
What types of woods are used for veneering?
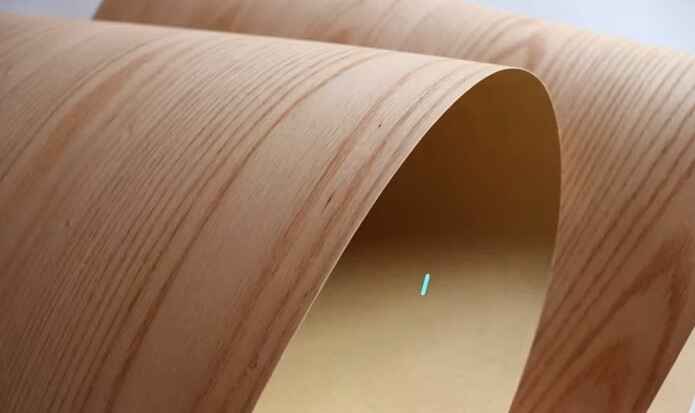
Veneers are typically made from hardwoods like oak, mahogany, walnut, and maple. Other woods like rosewood, sycamore, and cherry may also be used. In some cases, exotic woods like ebony are used as well. Veneering can also be done with softwoods such as pine or cedar.
Can you sand wood veneer?
You can sand wood veneer to achieve a smooth and clean finish. Whether you're refinishing an old piece of furniture or making handmade crafts, the secret to successful sanding lies in taking your time and having the proper equipment. With the right tools and techniques, you can easily give your wooden veneer pieces a polished look that will last for years!
How to sand wood veneer?

Sanding wood veneer is a simple yet effective way to restore its original luster. Here is how to sand wood veneer for professional results:
Preparation:
- Make sure to use the correct type of sandpaper for your needs. Use medium grit (220-240) for the veneer, then switch to the finer grit (400-600) for the finishing touches.
- Secure your workpiece to a flat surface using clamps. This will prevent it from shifting while you sand.
- Wear a dust mask and safety goggles to protect yourself from the airborne particles created during sanding.
Sanding:
- Start by applying light pressure with slow, even strokes. This will give you greater control over the sanding process.
- Increase the pressure slightly as needed to work out any imperfections or stains in the wood.
- Use circular motions to sand all surfaces evenly.
- Focus on corners, edges, and other hard-to-reach spots with extra attention.
Finishing:
- Vacuum all dust away from the surface of your workpiece before wiping it down with a damp cloth.
- Apply a coat of varnish or sealant to protect the wood and achieve a professional look.
- Allow the varnish or sealant to dry completely before handling.
You can easily achieve a flawless finish on your wood veneer projects with proper preparation, sanding, and finishing.
How do you repair scratched or faded wood veneer?
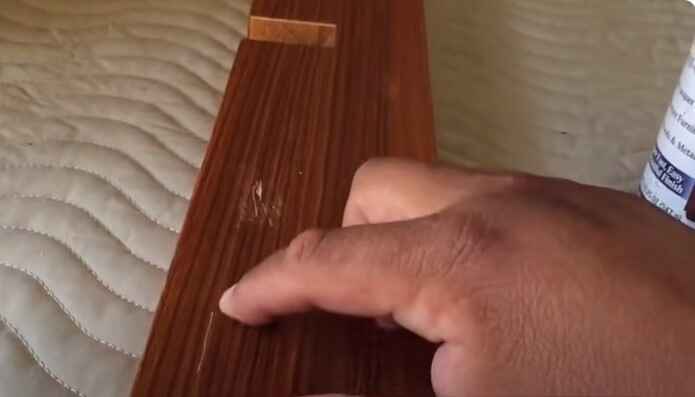
Wood veneer gives furniture a classic look that can become dull or scratched over time. To restore the original shine and texture of your wood veneer, follow these steps:
1. Cleaning:
Start by removing dirt, dust, and debris from the surface with a soft cloth and mild soap in warm water. Allow it to dry completely before moving on.
2. Sanding:
Very lightly sand away any scratches or damage using fine-grit sandpaper or steel wool. Be sure not to go too deep!
3. Applying Stain:
Apply a matching wood stain to the area, working in small circular motions until the color is even throughout the patch. Let it sit for 1-2 minutes, then wipe any excess with a soft cloth.
4. Finishing:
Finally, apply a clear finish or wax coat to the restored area and let it sit for an hour before wiping away any excess. This will seal in the repaired area and give it an extra shine!
What are some tips for sanding wood veneer?
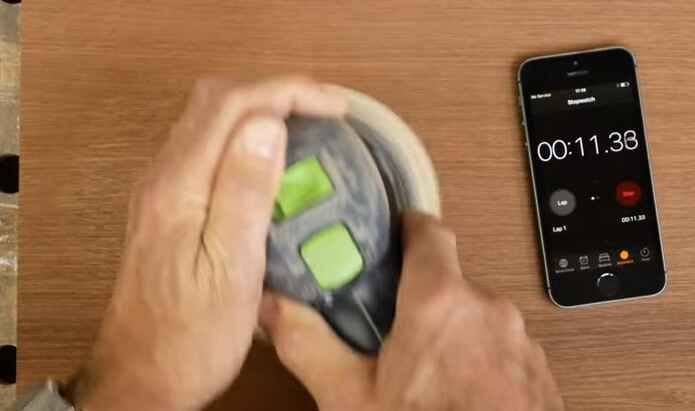
Sanding wood veneer can be a daunting task. Here are some valuable tips to make the job easier and more efficient.
1. Prepare The Area:
Before beginning, clear out the workspace and cover any surfaces you don't want to get sanded.
2. Choose The Right Sandpaper:
It's important to pick the right type and grit of sandpaper for the job. Use a low or medium grit, such as 220-240 for most veneers, then switch to the finer grit (400-600) for the finishing touches.
3. Start With A Coarse Grit:
To remove any paint, old polyurethane, or other surface coatings, use a coarse grit like 120-150 first. This will help ensure an even finish when you move on to finer grades later.
4. Work in Sections:
Divide the project into smaller sections so that it is easier to manage each part separately and to ensure that the whole job is evenly sanded.
5. Sand With The Grain:
Always work with the wood grain for best results, and use a smooth motion when sanding. This will help to prevent any blemishes and ridges in the veneer.
6. Wipe Away Dust:
After each section, use a clean cloth or vacuum to remove all dust before moving on to the next one. This will help you keep track of your progress and give a better finish.
7. Finish With A Polish:
Finally, once you're satisfied with the results, apply a polish or wax for additional protection and shine. This will help protect the wood veneer from dirt and scratches for longer lasting results.
By following these tips, sanding wood veneer can be quick and easy! You can achieve a beautiful finish with careful preparation, selection of the right sandpaper and tools, and consistent application of the steps outlined above.
Final Words
Veneer is a decorative layer of wood that can be sanded to create a smooth, even surface. You can use various types of sandpaper to achieve different effects on the veneer, but you should always start with a coarse grit and work your way up to a finer grit. Sanding wood veneer can be time-consuming, but achieving a beautiful, professional finish is worth the effort.