For optimal results, clamp wood glue for at least 30 minutes to an hour. However, allowing it to cure overnight ensures a strong bond. Always check the glue's label for specific instructions.
New to woodworking? Navigating the nuances of wood glue is essential for crafting sturdy projects. One common question beginners grapple with is how long to leave clamps on glued joints. The answer lies in achieving the perfect balance between bonding strength and project efficiency. In this guide, we break down the clamping time mystery, providing straightforward insights to kickstart your woodworking journey with confidence. Say goodbye to uncertainties and hello to solid, well-crafted pieces. Let's dive into the world of wood glue and get those clamps working for you!
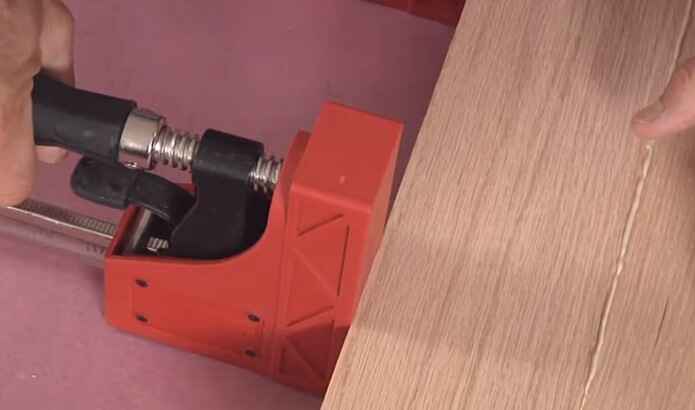
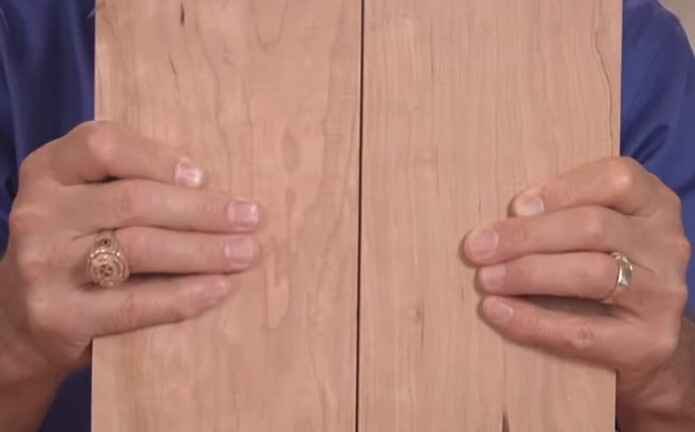
Wood glue is designed to create strong bonds between pieces of wood, but clamping is typically recommended to ensure a secure and tight connection. Clamping serves several essential purposes when using wood glue:
1. Pressure:
Clamping applies even pressure to the glued surfaces, holding them tightly together as the glue dries. This pressure helps to eliminate gaps and air pockets that could weaken the bond.
2. Contact:
Clamping helps to maintain complete contact between the glued surfaces. Proper contact between the wood pieces and the glue is essential for a strong bond.
3. Alignment:
Clamps help align the pieces of wood precisely. This is crucial for projects that require precise joinery, such as woodworking joints or edge gluing for panels.
4. Even Distribution:
Clamps distribute the glue evenly across the joint. Even glue distribution is essential for a strong bond and prevents excessive glue squeeze-out.
While clamping is highly recommended, there are situations where wood glue can work without clamping, but the quality of the bond may not be as reliable or strong:
1. Gravity and Weight:
In some cases, you can rely on the pieces' weight to create enough pressure for the glue to bond adequately. For example, gluing two flat panels together and stacking heavy objects on top of them may provide sufficient pressure for the glue to set.
2. Surface Area:
Larger surface areas can sometimes create enough friction and pressure to keep the pieces together while the glue dries. However, this approach is less reliable for smaller or more intricate joints.
3. Drying Time:
If you leave the glued pieces undisturbed for an extended period while the glue dries, it may develop a strong enough bond over time, especially if the pieces have a snug fit. However, this is not recommended for projects that require immediate strength or precision.
In general, it's advisable to use clamps when working with wood glue to ensure the best possible bond. If you don't have clamps, consider using alternative methods like rope or straps to apply pressure and hold the pieces together while the glue cures.
How tight to clamp wood glue?
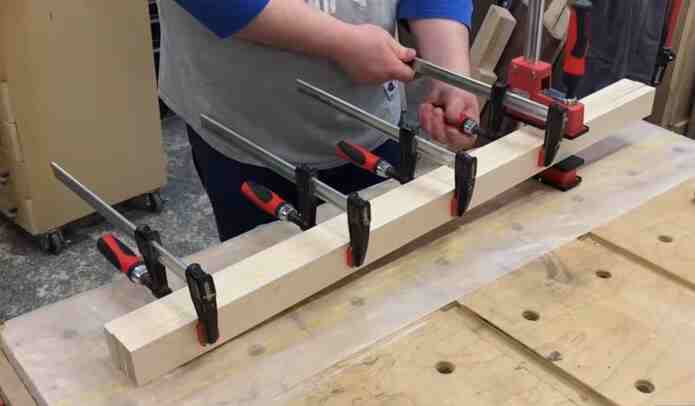
Clamping pressure when using wood glue is essential to ensure a strong bond between the pieces of wood. The right amount of clamping pressure can vary depending on several factors, including the type of wood, the glue used, and the specific project. Here are some general guidelines:
1. Follow the glue manufacturer's recommendations:
Different wood glues may have specific instructions regarding clamping pressure and drying times. Always check the product label or the manufacturer's guidelines for the recommended clamping pressure and drying time.
2. Even pressure:
Apply even pressure across the entire glued surface. This helps ensure no gaps or voids in the glue joint.
3. Adequate pressure:
In most cases, you'll want to apply enough pressure to squeeze out excess glue from the joint, which is a sign that the joint is well-covered and the air is being pushed out. However, you want to apply less pressure than it forces all the glue out of the joint, as this can weaken the bond.
4. Use clamps:
Clamps are the most common tool used to apply pressure when gluing wood. The number and size of clamps you use will depend on the size and complexity of your project. Ensure the clamps are tightened sufficiently to create good contact between the mating surfaces.
5. Caution with softwoods:
Softwoods, like pine, are more prone to denting and crushing under high clamping pressure. Be careful not to over-tighten clamps when working with softwoods.
6. Dry assembly:
It's a good practice to do a dry assembly without glue first to ensure that your clamps are properly set up and that everything fits together as expected. This also helps you determine how much clamping pressure is needed.
7. Cleanup:
Remove excess glue that squeezes out with a damp cloth or sponge after clamping. This prevents dried glue from interfering with the finish or staining of your project.
8. Drying time:
Allow the glued pieces to dry for the recommended time specified by the glue manufacturer before removing the clamps. Drying times can vary, but it's usually best to leave the clamps in place longer than to rush the drying process.
Remember that the specific clamping pressure needed can vary depending on the type of wood, the type of joint, and the glue used. Refer to the glue manufacturer's instructions and use your best judgment based on your woodworking experience. Proper clamping is crucial to achieving strong and durable wood joints.
6 Factors that affect clamp glued wood
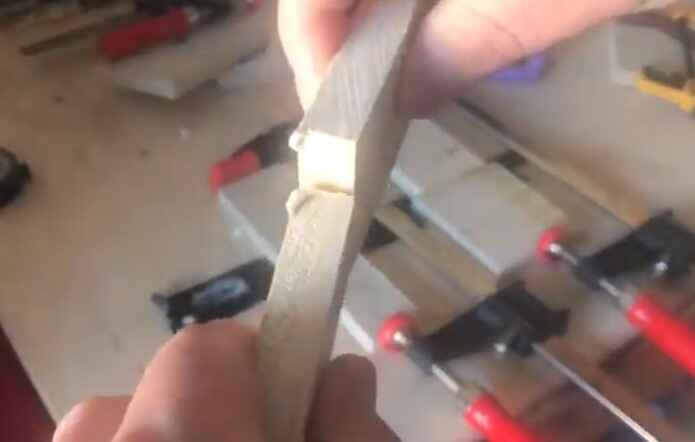
When it comes to clamping glued wood, a few factors can affect the process. Here are six of them:
1. The type of adhesive used.
When choosing an adhesive, you must consider the type of wood you're using. Some adhesives work better with certain kinds of wood than others. For example, if you're using a softwood like pine, you'll want to use an adhesive designed for that type of wood.
2. The amount of adhesive used.
The amount of adhesive you use is also essential. Too much adhesive can make your project difficult to work with, while too little can cause the wood to come apart.
3. The type of wood being used.
The type of wood you use is also important. Some woods are more porous than others, which can affect how well the adhesive bonds.
4. The surface area of the wood being used.
The surface area of the wood is also a factor. If you're working with a small piece of wood, you won't need as much adhesive as you would for a larger piece.
5. The temperature of the environment.
The temperature of the environment can also affect how well the adhesive bonds. If it's too cold, the adhesive may not work as well.
6. The amount of time the wood is left to cure.
Finally, the time the wood is left to cure is also important. If you try to work with the wood too soon, the adhesive may not be fully cured and could come apart.
Each of these factors can impact your project's success, so it's essential to be aware of them. Consider these factors when working with glued wood to ensure the best possible results.
Common types of wood glue and approximate dry times
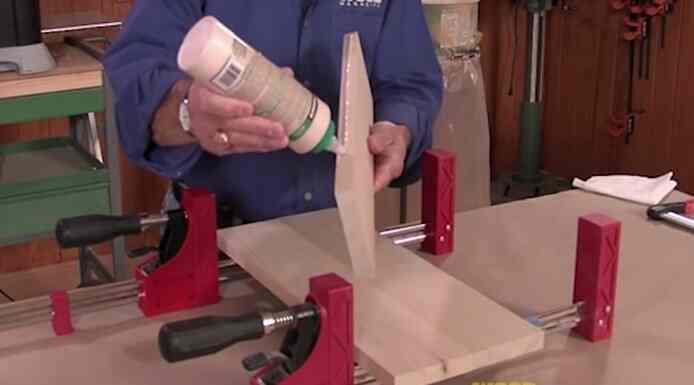
Wood glue is a versatile adhesive used in woodworking and carpentry to bond wood pieces together. There are several common types of wood glue, each with its unique characteristics and approximate dry times. The dry times can vary depending on temperature, humidity, and the specific brand or product. Here are some common types of wood glue and their approximate dry times:
1. PVA (Polyvinyl Acetate) Glue:
- Type: White glue, Yellow glue
- Dry Time: Typically around 30 minutes to 1 hour for initial bond. Allow 24 hours for full cure.
2. Aliphatic Resin Glue (Yellow Glue):
- Type: Yellow wood glue, Carpenter's glue
- Dry Time: Similar to PVA glue, with an initial bond in 30 minutes to 1 hour and full cure in 24 hours.
3. Polyurethane Glue:
- Type: Gorilla Glue, Titebond Polyurethane Glue
- Dry Time: Polyurethane glues can take longer to dry, often between 1 to 4 hours for the initial bond, and full cure can take up to 24 hours or more.
4. Epoxy Resin:
- Type: Two-part epoxy
- Dry Time: Epoxy glue typically has a longer working time (pot life) before it sets, but it may take 24 hours or longer for a full cure, depending on the specific product.
5. Cyanoacrylate (CA) Glue:
- Type: Superglue
- Dry Time: CA glue bonds very quickly, often in seconds to a few minutes, but full cure may take up to 24 hours.
6. Hide Glue:
- Type: Traditional animal-based glue
- Dry Time: Hide glue requires heating for use and has a relatively short open time. It can set in minutes and reach full strength over several hours.
7. Veneer Glue:
- Type: Often water-based or heat-activated
- Dry Time: Dry times for veneer glues can vary widely depending on the type and manufacturer. Follow the manufacturer's instructions for specific drying times.
Remember that these are approximate dry times and can vary based on the glue line's specific conditions and thickness. Additionally, while many wood glues may be dry to the touch within the stated timeframes, it's essential to allow sufficient curing time for the glue to reach its full strength before subjecting the bonded pieces to stress or load-bearing activities. Always follow the manufacturer's recommendations for your specific wood glue to achieve the best results.
How to clamp glued wood?
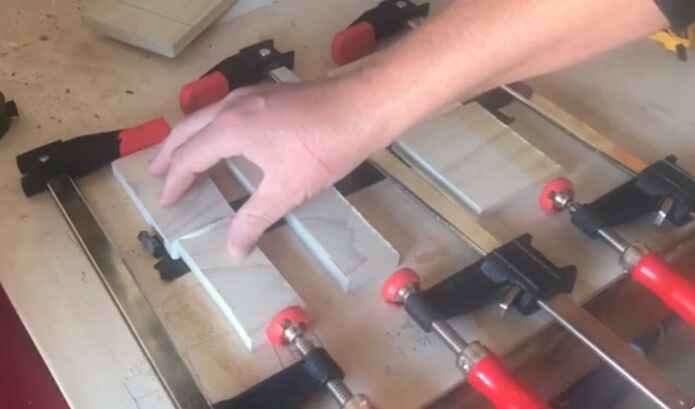
Clamping glued wood is essential in woodworking to ensure a strong bond between the pieces. Clamps help keep the wood in place while the glue dries, preventing any movement that could compromise the joint. Here are steps to clamp glued wood effectively:
Materials and tools you’ll need:
- Wood pieces to be glued.
- Wood glue (appropriate for your project).
- Clamps (various sizes and types, such as bar, pipe, or C-clamps).
- Clamping blocks or scrap wood (to protect the wood surface from clamp marks).
- A damp cloth or sponge (for cleaning up excess glue).
- Sandpaper (to smooth any rough edges or surfaces if needed).
Step-by-Step Instructions:
1. Prepare your work area:
Ensure that your work area is clean, well-lit, and properly organized. Lay down some newspaper or a drop cloth to catch any excess glue.
2. Fit your pieces together:
Before applying glue, dry-fit the wood pieces to ensure they align correctly. This step is crucial to avoid any issues once the glue is applied.
3. Apply glue:
Apply a thin and even layer of wood glue to one or both surfaces you intend to bond. Use a brush, roller, or even your finger to spread the glue evenly. Avoid applying too much glue, as excess glue can create a mess and weaken the bond.
4. Assemble the pieces:
Place them together, aligning them accurately. Ensure that the glue-covered surfaces make complete contact with each other.
5. Use clamps:
Clamp the wood pieces together to hold them firmly in place while the glue dries. Here's how to do it:
- Position the clamps along the length or width of the wood, depending on the joint type and the size of your project.
- Use clamping blocks or scrap wood between the clamps and the wood surface to distribute the pressure evenly and prevent clamp marks.
- Tighten the clamps gradually and evenly to apply pressure along the glued joint. Be cautious not to overtighten, as this can squeeze out too much glue.
6. Check for alignment:
Double-check that the pieces are still aligned correctly after clamping. Make any necessary adjustments while the glue is still wet.
7. Clean up excess glue:
While the glue is still wet, use a damp cloth or sponge to remove any excess glue that has squeezed out from the joint. This helps keep the project clean and avoids glue stains.
8. Let it dry:
Allow the glued wood to dry according to the glue manufacturer's recommendations. This typically takes several hours to a full day, depending on the type of glue used and environmental conditions.
9. Remove clamps:
Once the glue is fully cured, carefully remove the clamps.
10. Final touches:
If needed, use sandpaper to smooth rough edges or surfaces and finish the project as desired.
Following these steps, you can effectively clamp glued wood and create strong, reliable joints for your woodworking projects.
How can I tell if my glue is still good?
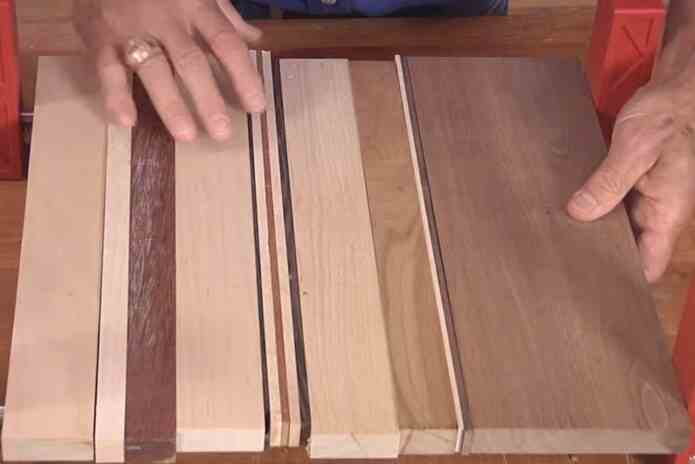
Determining if your glue is still good depends on the type of glue you're using and how it has been stored. Here are some general guidelines for common types of glue:
1. Check the Expiration Date:
Many types of glue have an expiration date printed on the packaging. If your glue has passed this date, it's best to replace it.
2. Inspect the Consistency:
Open the container and check the consistency of the glue. The glue that has thickened or become lumpy may no longer be usable.
3. Smell Test:
Give the glue a sniff. It may have gone bad if it has a strong, unusual, or unpleasant odor.
4. Check for Separation:
Some glues can separate over time. It may no longer be effective if you see a clear liquid or a different layer on top of the glue. Gently stir or shake the glue to see if it reverts to a homogeneous consistency.
5. Test a Small Amount:
If unsure about the glue's usability, try using a small amount on a test surface. See if it bonds properly. If it doesn't, it may be time to replace it.
6. Look for Mold or Contamination:
Inspect the glue for any signs of mold growth, discoloration, or foreign particles. If you see any of these, it's best to discard the glue.
7. Review Storage Conditions:
Consider how the glue has been stored. Most glues have specific storage recommendations on their packaging. It may have deteriorated if the glue has been exposed to extreme temperatures or stored improperly.
8. Consider the Type of Glue:
Different types of glue have different lifespans. For example, superglue tends to have a shorter shelf life once opened than wood or white glue.
9. Manufacturer's Recommendations:
Check if the glue manufacturer provides specific guidance on determining if their product is still good.
10. Safety Precautions:
Always exercise caution when dealing with old or potentially expired glue. It's better to err on safety and use fresh glue when working on significant projects.
In general, if you have any doubts about the quality or effectiveness of your glue, it's advisable to replace it, especially if you're working on a project where the integrity of the adhesive bond is crucial. Using expired or deteriorated glue can lead to weak bonds and project failures.
How long should Gorilla wood glue be clamped?
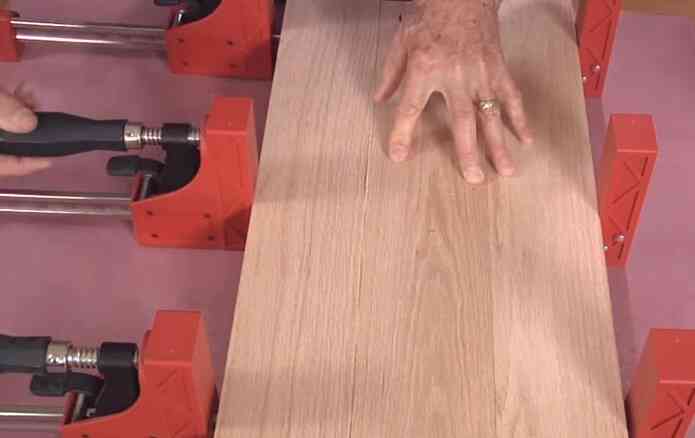
Like many other wood glues, Gorilla Wood Glue typically requires clamping for a certain amount of time to ensure a strong bond. The clamping time can vary depending on several factors, including the type of wood you're bonding, temperature, humidity, and the specific Gorilla Wood Glue product you're using. However, here are some general guidelines:
1. Initial Clamp:
Clamping the glued pieces together for about 30 minutes to 1 hour is often recommended. The glue will start to set during this time, and clamping ensures a tight bond.
2. Full Cure:
While the initial clamp time is relatively short, the glue needs more time to reach its full strength. Gorilla Wood Glue typically reaches its full cure strength in 24 hours. Therefore, leaving your glued pieces clamped together for at least 24 hours is good practice to ensure a strong and durable bond.
3. Wood Type and Conditions:
Remember that certain types of wood, such as hardwoods, may benefit from longer or overnight clamping to ensure a solid bond. Additionally, environmental factors like temperature and humidity can affect the drying and curing time of the glue. You might need to extend the clamping time in cold or humid conditions.
Always refer to the instructions on the Gorilla Wood Glue product label or packaging for the manufacturer's recommended clamping times and any specific instructions for your project. Additionally, following good woodworking practices, such as ensuring a clean and properly prepared bonding surface, will contribute to a successful bond.
Final Words
Knowing how long to clamp wood glue is essential because if you don't, your project might not turn out the way you want it to. If the wood glue isn't clamped for long enough, it won't be as strong, and your project could fall apart. So, when you are gluing wood together, clamp it for at least 30 minutes- this will give the glue time to set and create a strong bond. And that's all there is to it! With these simple tips, you'll be able to avoid any problems with using wood glue and create beautiful projects that will last.